I think we all have some knowledge of paper mache from art class in school. I have to tell you it is just as much fun today as it was when you were a child.
While Traveling
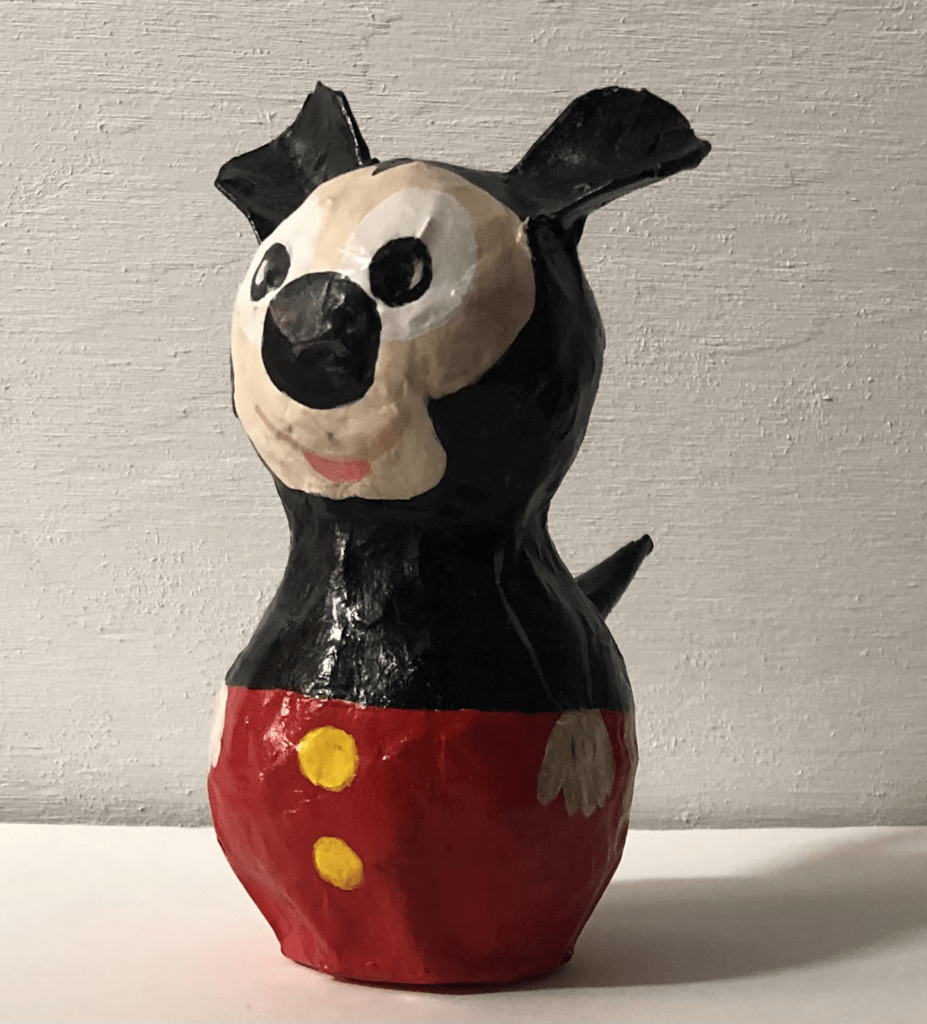
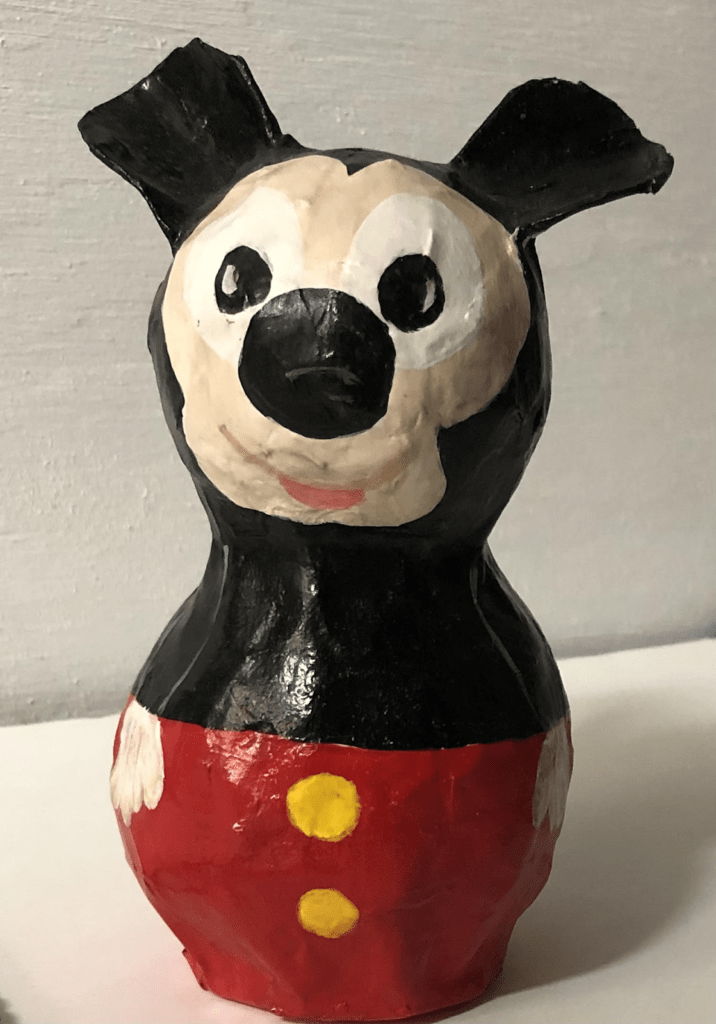
I had the pleasure of attending a class at the Decatur Area Art Council in Decatur, IL, on paper mache; this is what I made.


Depending on how you like to learn, you can check with your local art council or craft store to see if they offer a class on paper mache, or you can search Paper Mache on the internet.
www.UltimatePaperMache.com has recipes and patterns.
It all started with
An Idea
What are you going to make?
A mold
You can make it out of tin foil, balloons, cardboard, a paper towel roll, or whatever you can shape into your design, using tape and scissors if needed (masking tape works well). In my project, I used two balloons, a piece of a cereal box for the ears, and a base with masking tape to hold everything in place.
Paper
Whatever paper you choose is ok look around your home, newspaper, printer paper, or decorative paper. The choice is yours, tearing the paper into strips about an inch wide until you have more than you need. You tear more paper because your hands will become sticky from the glue, making it hard to stop.
Glue/paste
Glue or paste is your choice; You can find many different types online. Try a few until you find the texture you like. Remember, you can also use clay if you want a thicker paste. www.UltimatePaperMache.com has glue and clay recipes that might work for you
Paintbrush
Dip a paintbrush (the paintbrush size depends on how wide you have torn your paper) into the glue mixture, then brush each piece with glue, covering it thoroughly on both sides. Next, place the paper covered in glue onto the mold you have created.
Smoothing
You are smoothing out the paper with the paintbrush, brushing away all air bubbles, and covering your mold with one or two layers of paper. You might use your hands to get the air bubbles out, so prepare to get your hands dirty.
Then the hard part begins.
Waiting
You have to let your project dry before applying another layer of paper. If you fail to let it dry, the next layer might not adhere properly.
Each project usually takes several layers of paper, and waiting for it to dry requires patience. Once your project is dry, decide if it needs another layer of paper or not. The more layers you apply, the stronger it becomes.
Painting
When your project is completely dry, you can paint it; acrylic paint works well.
Glaze or Varnish
You can put finishing glazes or varnish on your project. Be careful; some types of finishing glazes or varnish will turn your project yellow – read the label carefully.

Supplies you need
- The Idea – what do you want to create?
- Create a Mold
- Paintbrush
- Glue
- Paper, Newspaper, Printer Paper
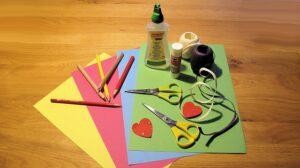
- Tape and Scissors
- Balloons
- Cardboard
- Tinfoil
- Paint
- Clean up with Soap and Water
Anyone can create a paper mache masterpiece using ideas, glue, tape, scissors, paper, and paint. Why not call your friends, grandkids, or yourself?
All you need is a little imagination, watch a few videos, take a class and start your project.
I’m motivated to start a project!!
Thanks for sharing your motivation our goal is to inspire